Dolibarr is an open-source ERP and CRM solution designed for small and medium-sized businesses (SMBs). It offers a variety of modules to manage sales, purchases, inventory, invoices, accounting, projects, and more. If you’re looking to Install Dolibarr on Ubuntu 24.04 system, this blog will guide you through the full installation process step by step.
Update System Packages
First, update the system’s package list to ensure all installed packages are up to date.
sudo apt update
sudo apt upgrade -y
Install Apache, MySQL, and PHP
Dolibarr requires a web server (like Apache), a database server (like MySQL or MariaDB), and PHP to run.
Install Apache
apt install apache2 -yInstall MySQL
apt install mysql-server -yYou can check if MySQL is running with:
systemctl status mysqlInstall PHP and Required PHP Extensions
Dolibarr needs PHP along with certain extensions. Install PHP and necessary extensions with the following command:
apt install php php-mysqli php-curl php-mbstring php-xml php-zip php-json php-gd php-soap php-ldap -yCheck your PHP version:
php -vCreate a Database for Dolibarr
Now, you need to create a database for Dolibarr in MySQL.
Log into MySQL as the root user:
mysql -u root -pCreate a new database for Dolibarr:
CREATE DATABASE dolibarr;Create a new MySQL user for Dolibarr and grant privileges:
CREATE USER 'dolibarr_user'@'localhost' IDENTIFIED BY 'your_password';
GRANT ALL PRIVILEGES ON dolibarr.* TO 'dolibarr_user'@'localhost';
FLUSH PRIVILEGES;
EXIT;
Download and Install Dolibarr
Download the latest stable version of Dolibarr from the official website or GitHub. First, navigate to the /var/www/html directory where the web files are stored: cd /var/www/html Download Dolibarr:
wget https://github.com/Dolibarr/dolibarr/archive/refs/tags/20.0.2.tar.gzReplace the link with the latest version if needed.
Extract the Dolibarr archive:
tar -xvzf 20.0.2.tar.gz
mkdir /var/www/html/dolibarr
Rename the extracted folder (optional, but recommended for easier access):
mv 20.0.2.tar.gz /var/www/html/dolibarr/Set the proper permissions for Dolibarr:
chown -R www-data:www-data /var/www/html/dolibarr
chmod -R 755 /var/www/html/dolibarr
Configure Apache for Dolibarr
Now, you need to configure Apache to serve Dolibarr.
Create an Apache configuration file for Dolibarr:
sudo nano /etc/apache2/sites-available/dolibarr.confAdd the following configuration to the file:
<VirtualHost *:80>
    ServerAdmin webmaster@localhost
    DocumentRoot /var/www/html/dolibarr/htdocs
    ServerName your_domain_or_IP

    <Directory /var/www/html/dolibarr/htdocs>
        AllowOverride All
        Require all granted
    </Directory>

    ErrorLog ${APACHE_LOG_DIR}/error.log
    CustomLog ${APACHE_LOG_DIR}/access.log combined
</VirtualHost>
Replace your_domain_or_IP with the actual domain or IP address of your server.
Enable the site and restart Apache:
a2ensite dolibarr.conf
systemctl restart apache2
Enable the mod_rewrite module for Apache:
a2enmod rewrite
systemctl restart apache2
Install Dolibarr via the Web Interface
Open a browser and navigate to http://your_domain_or_IP or http://localhost/dolibarr if you’re on the server directly.
If you’re prompted to install Dolibarr, click Start the installation.
Follow the installation wizard:
Language: Choose your preferred language.
Database Connection: Use the database settings created earlier (database name, user, password).
Admin user: Set up the Dolibarr admin user (username, password, etc.).
Finish Installation
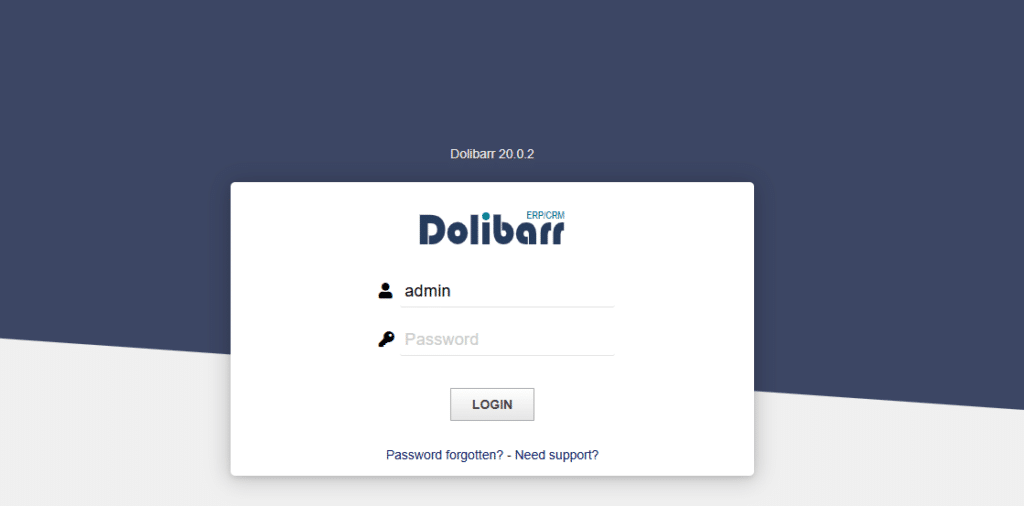
Once you complete the installation wizard, you can log into Dolibarr with the admin user credentials.
If you encounter any issues while trying to install Dolibarr on Ubuntu 24.04 or need further assistance, feel free to contact our support team. We’re here to help ensure a smooth installation process and provide expert guidance. Reach out today!
