RabbitMQ in Ubuntu 24.04 is a popular open-source message broker that facilitates communication between different applications and systems by transmitting messages between them. It is based on the Advanced Message Queuing Protocol (AMQP), an open standard designed for passing messages between servers, applications, or services, ensuring efficient and reliable communication.
RabbitMQ is often used in scenarios where there is a need for:
- Decoupling between different parts of an application (e.g., producers and consumers).
- Asynchronous communication where message delivery can happen at a later time, enabling more scalable and efficient systems.
- Distributed systems where microservices need to communicate reliably over a network.
RabbitMQ allows messages to be sent, received, and routed in different patterns, such as publish-subscribe, request-response, or point-to-point messaging.
Update Your System
apt update && sudo apt upgrade -yInstall Erlang
RabbitMQ is written in Erlang, so you’ll need to install Erlang first. RabbitMQ requires Erlang 23 or higher, but it’s a good idea to check for compatibility on the RabbitMQ website to confirm the required version for your RabbitMQ version.
Run the following command to install Erlang:
apt install -y erlang

tee /etc/apt/sources.list.d/rabbitmq.list <<EOF
Provides modern Erlang/OTP releases from a Cloudsmith mirror
##
deb [arch=amd64 signed-by=/usr/share/keyrings/rabbitmq.E495BB49CC4BBE5B.gpg] https://ppa1.rabbitmq.com/rabbitmq/rabbitmq-erlang/deb/ubuntu noble main
deb-src [signed-by=/usr/share/keyrings/rabbitmq.E495BB49CC4BBE5B.gpg] https://ppa1.rabbitmq.com/rabbitmq/rabbitmq-erlang/deb/ubuntu noble main
another mirror for redundancy
deb [arch=amd64 signed-by=/usr/share/keyrings/rabbitmq.E495BB49CC4BBE5B.gpg] https://ppa2.rabbitmq.com/rabbitmq/rabbitmq-erlang/deb/ubuntu noble main
deb-src [signed-by=/usr/share/keyrings/rabbitmq.E495BB49CC4BBE5B.gpg] https://ppa2.rabbitmq.com/rabbitmq/rabbitmq-erlang/deb/ubuntu noble main
Provides RabbitMQ from a Cloudsmith mirror
##
deb [arch=amd64 signed-by=/usr/share/keyrings/rabbitmq.9F4587F226208342.gpg] https://ppa1.rabbitmq.com/rabbitmq/rabbitmq-server/deb/ubuntu noble main
deb-src [signed-by=/usr/share/keyrings/rabbitmq.9F4587F226208342.gpg] https://ppa1.rabbitmq.com/rabbitmq/rabbitmq-server/deb/ubuntu noble main
another mirror for redundancy
deb [arch=amd64 signed-by=/usr/share/keyrings/rabbitmq.9F4587F226208342.gpg] https://ppa2.rabbitmq.com/rabbitmq/rabbitmq-server/deb/ubuntu noble main
deb-src [signed-by=/usr/share/keyrings/rabbitmq.9F4587F226208342.gpg] https://ppa2.rabbitmq.com/rabbitmq/rabbitmq-server/deb/ubuntu noble main EOF
Install Packages
After updating the list of apt sources it is necessary to run apt-get update:
apt-get update -yThen install the package with
Install Erlang packages
apt-get install -y erlang-base \
erlang-asn1 erlang-crypto erlang-eldap erlang-ftp erlang-inets \
erlang-mnesia erlang-os-mon erlang-parsetools erlang-public-key \
erlang-runtime-tools erlang-snmp erlang-ssl \
erlang-syntax-tools erlang-tftp erlang-tools erlang-xmerl
Install rabbitmq-server and its dependencies
apt-get install rabbitmq-server -y --fix-missingStart and Enable RabbitMQ Service
Once RabbitMQ is installed, you need to start and enable it to automatically start on boot.
systemctl start rabbitmq-server
systemctl enable rabbitmq-server
Enable the RabbitMQ Management Plugin
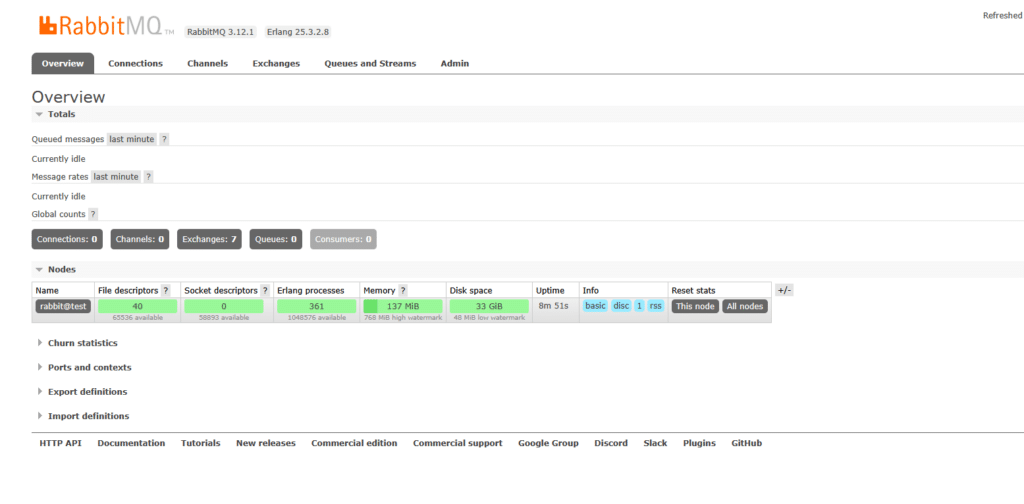
RabbitMQ has a web-based management console that you can use to interact with the server. Enable the management plugin by running:
rabbitmq-plugins enable rabbitmq_managementAfter this, the management interface should be available at:
http://localhost:15672
The default username and password are both guest.
Create a New User
You can create a new user with the following command:
rabbitmqctl add_user myuser mypasswordReplace myuser with the desired username and mypassword with the desired password.
Set the User as Administrator
If you want this user to have administrative privileges, you can assign them the administrator tag:
rabbitmqctl set_user_tags myuser administratorThis will grant the user full administrative rights, including access to the management interface.
Set Permissions for the User
You can grant this user access to a virtual host and set permissions for it. To allow the user to access all resources on the default virtual host (/), use the following command:
rabbitmqctl set_permissions -p / myuser ".*" ".*" ".*"Here’s a breakdown of the permissions:
The first “*” allows the user to configure resources.
The second “*” allows the user to write to resources.
The third “*” allows the user to read from resources.
You can replace “/” with the name of a different virtual host if you’re using one, and modify the permission patterns as needed.
Verify the New User
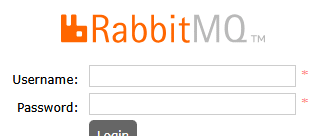
You can log into the RabbitMQ management web UI at:
http://localhost:15672
Use the new user credentials (myuser/mypassword) to log in. If everything was set up correctly, you should be able to access the interface.
If you need assistance with installing RabbitMQ in Ubuntu 24.04, feel free to contact our support team for expert guidance and troubleshooting.
